Spring is such an exciting time
in Fairbanks as the snow melts away and the daylight reaches until a late hour.
Everyone is happy to be hanging out outdoors...

even
though the mosquitoes have begun to emerge.

These are the
slow, fat guys who easier to kill, and they are really more of a benign
annoyance compared to their little but vicious cousin species of mosquitoes
that emerge later in the summer.
Sap season is probably my favorite time of year. Birch sap usually begins sometime around April 20th in Fairbanks-- this is also the date of Yakusuje-- a centuries old Korean birch sap festival. Sap flow is really weather dependent, and I remember one cold spring the sap didn't start until April 30th.
For me-- sap season is a celebration because it's when the trees break their dormancy and start getting ready for a new growing season. This breaking of dormancy and getting ready for summer is visible all around Fairbanks as people crawl out of their winter hiding places and embrace the warmer temperatures and returning daylight-- this time of year we gain 7 minutes of daylight a day and we're already over 16 hours of official daylight.
Besides for being able to harvest its sap, the birch is an amazing tree which has been recognized by many different cultures. In Norse mythology, birch trees are associated with Thor, the god of thunder and fertility, and with Freya, the Lady of the Forest and goddess of love, beauty, and fertility. Birch is also the tree of Venus, the Roman goddess of love, beauty, and fertility. In Celtic mythology, birch symbolizes renewal and purification. Birch brooms were used on Winter Solstice to sweep homes and celebrate renewal.
As a symbol of love, maypoles were made of birch for lovers to dance around. In Britain, girls would give their lovers twigs of birch as tokens of affection, and an old Finnish tradition is to make engagement rings out of birch bark.
Birch is thought to protect against evil spirits. In Russia and Belarus, birches were planted around homes for protection, and in Scandinavia, a birch branch was placed on a home for the same reason. It was Celtic tradition to make babies' rattles and cradles from birch to protect them from harm. The Celts would also carry a small piece of birch to protect them from being kidnapped by the sidhe (faeries). In Ancient Rome, birch branches were used to beat people believed to be possessed by evil spirits in order to drive out the spirits. This is most likely the source of birch twigs as a sign of authority and discipline since magistrates in England would symbolically carry bundles of birch twigs.
While most people mistakenly refer to the all birch trees growing in Alaska as paper birch, nearly all birches growing in the Interior are Alaskan birch, Betula neoalaskana.
To conserve resources when losing their leaves in the fall, birch trees store important nutrients in their roots over the winter; in the spring, birch use sap to transport these nutrients back up to where the new leaves develop. Like maple, birch trees can be tapped just before new leaves appear and the sap can be harvested. Birch sap is ~99% water and the remaining ~1% consists of small amounts of sugars, minerals, and other chemical compounds. Historically, the sugar in birch sap is one of the first carbohydrates that people could harvest in the spring—available before any other food from the new growing season appears. A few companies in Alaska and Canada produce birch syrup by boiling down the sap, but the main use of birch sap throughout the boreal forest is as a health tonic.

Bottled birch sap from Ukraine, Japan, and Belarus
(picture courtesy of the International Birch Sap Museum)
The sap is often
referred to as “Aqua Vitae” or “Water of Life” (not to be confused with Uisge
Beatha-- the Scottish term for "Water of Life" which means whisky, of
course), and birch sap is part of traditional medicine of many northern
countries including Japan, Korea, China, Finland, and Russia. People
drink birch sap for general well-being and to treat an array of ailments
including fatigue, gout, scurvy, and problems with the bladder or digestion.

(if you click on this
picture, you can zoom in and read it better)
To tap, you need
a spile which is inserted into a hole in the tree and directs the sap into a
bucket for collection. There's different types of spiles, but the type
that I recommend are the plastic spiles that connect to tubing and flow into a
bucket on the ground.

The other tapping
supplies needed are ~ 3 ft of 7/16 o.d. (5/16 i.d.) clear plastic tubing, a drill
with a 7/16th drill bit, a hammer, and a bucket with a lid.
When tapping, I
use a hand drill with ship auger drill bit in order to get a nice, clean tap
hole. I advise against using a flat drill bit since the round ship auger
drill bit gives a nice and clean tap hole. The hand drill is great--
especially if you're tapping a tree with kids-- since it really makes it an
interactive process, though a power drill will work as well-- though if using a
power drill, I wouldn't drill in at full speed since that would make me nervous
that I was cauterizing the wood.

When selecting a tree to tap, look for a
healthy tree with at least a 8 inch diameter at breast height (1.3 m or 4.5 ft
off the ground). You're looking for a tree free of scars and one with a
good looking crown.

You also are looking for a tree that doesn't
show signs of rot, so a tree with lichens is OK to tap, but it's not OK to tap
a tree with fungi on it.
Lichen and fungi are both commonly found on
birch trees, but these two organisms utilize birch very differently.
Lichens are self-sufficient and use birch as scaffolding in order to be
elevated off the forest floor and gain access to more sunlight; fungi, on the
other hand, are parasitic and feed off the tree for their food, which weakens
and decomposes the tree. Lichens are symbiotic associations between a fungus
and a photobiont. Lichenologist Trevor Goward said, “Lichens are fungi
that have discovered agriculture."

Lichen
on a birch
Certain types of
fungi colonize the interior of the birch trees and will decompose the lignin or
cellulose of the wood as a food source. When a fungus is well established
and ready to spread spores, it produces mushrooms that extend out of the tree.
Mushrooms are analogous to flowers on a plant. Once mushrooms are visible,
the tree is already heavily infected by the fungus.

Fungi on a birch
I selected a
medium-sized tree in front of my place as this year's tapping tree. The
tree gets a decent amount of sun, does not have any visible wounds or sign of
rot, and it's easy to access since the
sap buckets must be emptied at least every 24 hours to keep it fresh and
prevent any microbial activity in the sap.

After selecting my tree, I found a good spot
on the tree to tap-- probably about 3.5 ft off the ground in a section.
To tap the tree, angle the drill bit at 90˚ and then drop the drill just a
smidgen so it's at an ~89˚ angle with the tree-- this will aid the the sap
flowing downhill into the tap and into the bucket. Drill in about 1 1/2
to 2 inches (I usually mark the drill bit with a piece of tape at 2 inches so I
can gauge how far I've drilled into the tree).
When selecting a spot to tap, if the tree has
been previously tapped, don't tap above
or below or at the same height as a previous tap hole or (or any kind or scar).
If you tapping above or below a previous tap hole, you might be tapping into
wounded wood. Tapping at the same height as a previous tap hole may start
to girdle the tree.

Once you drill
you hole, make sure that all excess wood fiber is cleaned out of the tap hole.
I often drilling into the tap hole a second time to clean out any lingering
wood fibers.

Then place the
spile into the hole.

Gently tap the spile with the hammer to get a
snug fit into the tap hole. You don't want to pound the spile in since
you need a gap in the tap hole behind the spile where the sap can pool and
drain into the spile, so the majority of the spile is still sticking out from
the tree.

The sap
immediately started flowing!

So I rushed to make sure the bucket was in
place...

and within the
first 15 minutes I had my first drink of sap this year to savor.

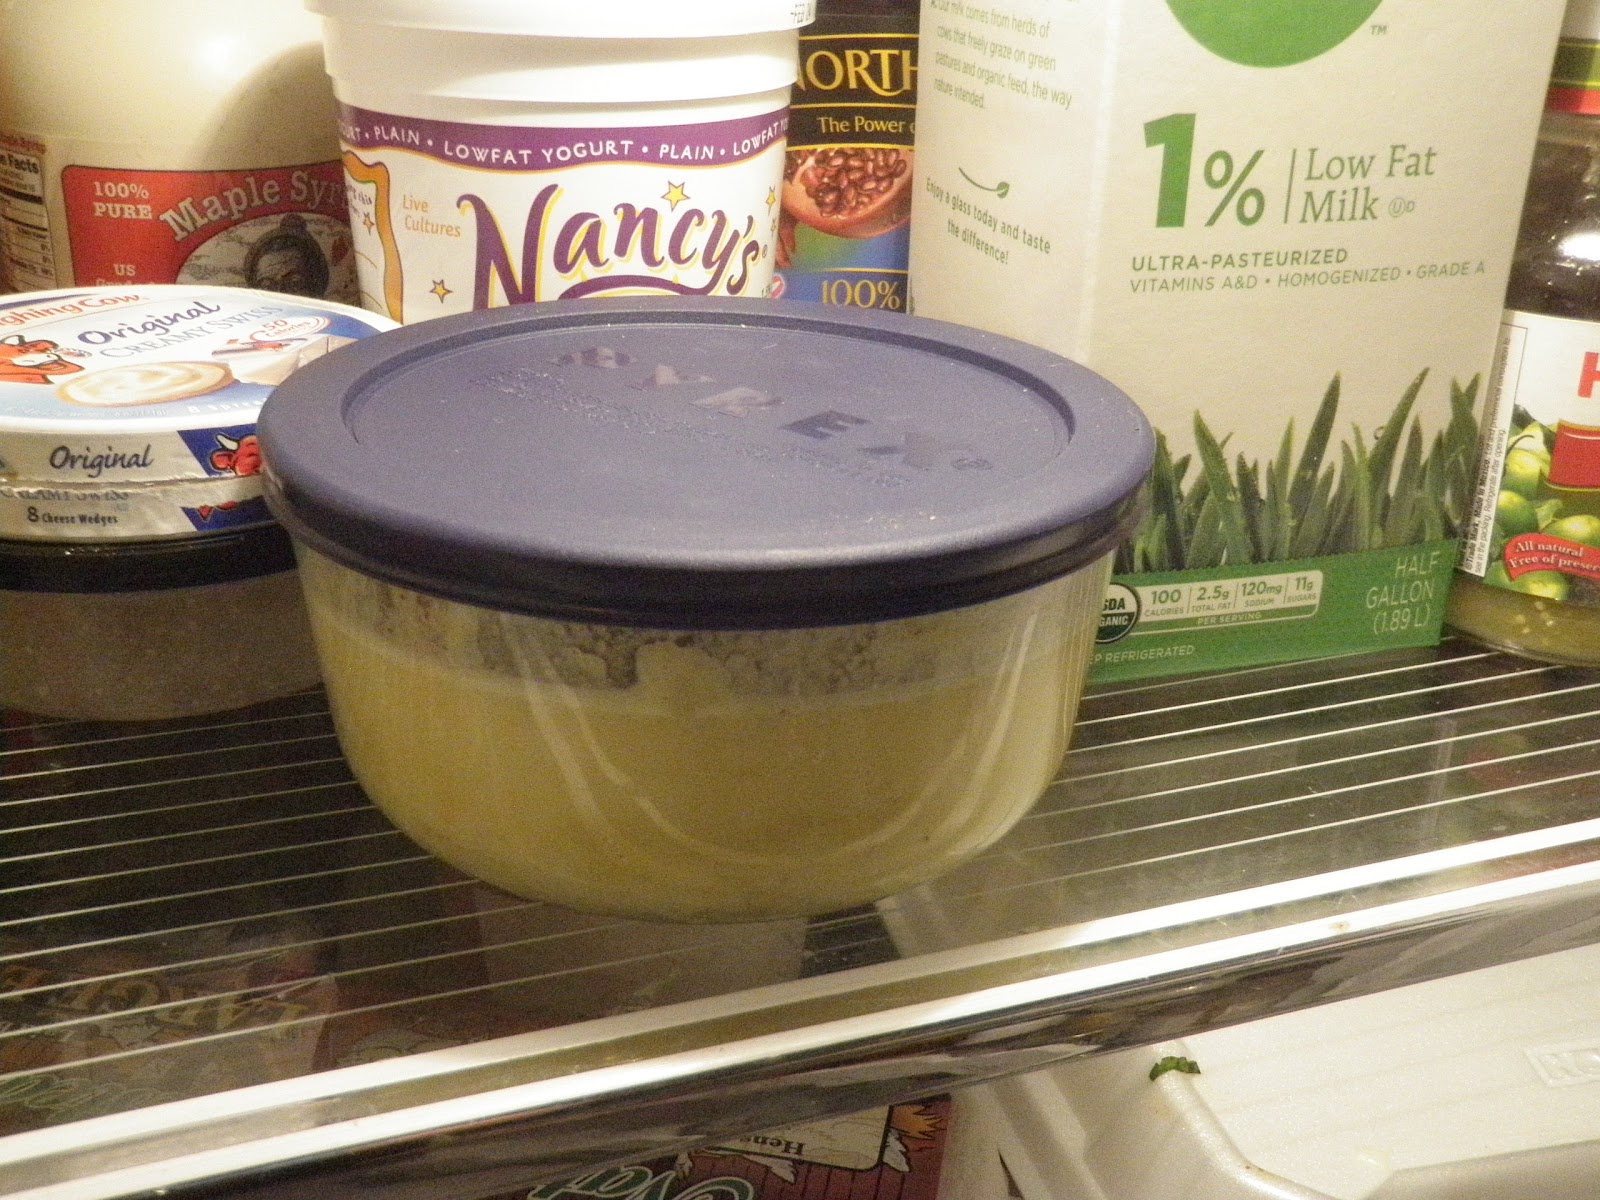
Sap needs to be collected daily from the sap buckets since it will start to ferment from the yeast naturally present.
It can be kept in the refrigerator for a day or two before it spoils or frozen
for a longer-term storage. Canning it is also an option, though some of
the minerals present in the sap may precipitate out and form white crystals.
As the sap season wears on, the sugar content will begin to drop and it will begin
to taste a bit birch-ier. Sap harvest will usually last between 1- 2.5
weeks depending on the weather and moisture available.
At the end of the sap season when the sap is
no longer clear and sweet, it's time to pull the tap. Commercial birch
sap harvesters recommend that tap holes are plugged with a bit of cork (a good
reason to open a bottle of wine!) because they think it helps the tree heal
faster; though, a forest pathologist I consulted disagreed and argued that
trees have their own mechanisms to clean out their wounds and that plugging the
tap hole might trap pathogens in it. I don't have a solid opinion on the
matter and have plugged my tap hole on some years and have left them to their
own devices other years...
Here's a tap hole from a tree that I've tapped sometime in the last few years

and this is older
tap hole that's almost healed over.

One last piece of
advice-- if you've never tapped before,
don't get overzealous and tap a number of trees. Start with one tap, and
then if you want more sap then go ahead and tap another tree. A tree
will produce anywhere between half a gallon and five gallons of sap a day so
don't tap more trees than you can deal with the amount of sap they produce.